Note: Part II, installing and configuring the optical bay caddy, is now posted!
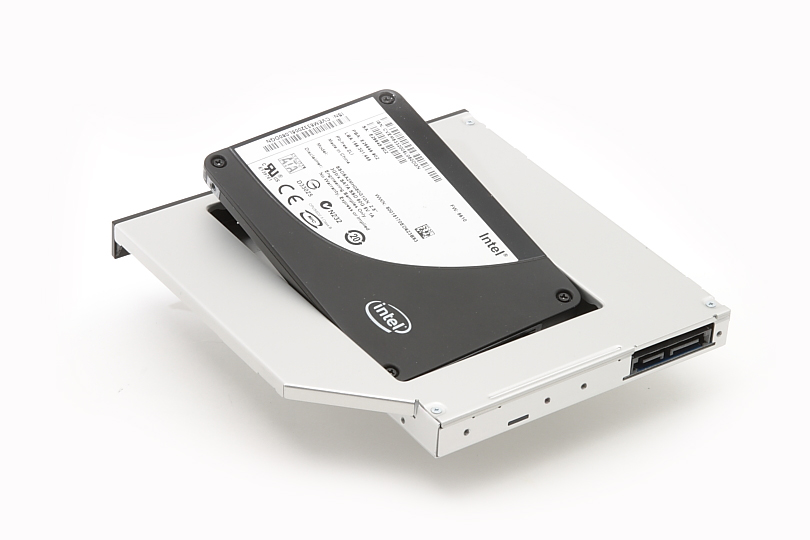
Have you ever wished you could put an SSD in your laptop, but realized that you have far too much data to fit on an affordable SSD? By putting a hard drive caddy in your optical bay, you can add a second hard drive to your computer, allowing you to install your operating system, applications, and other frequently accessed files on an SSD, while storing all of your large files on a regular hard drive.
Our reviews of the Kingston v100 SSD have shown that adding a solid state drive to your system can make it significantly faster, from decimating the boot times to speeding up application launch and data access. One of the downsides of solid-state technology however is that it is still very expensive per-GB compared to traditional hard drives. On computers with two hard drive bays, you can just install your operating system on an SSD and keep everything else on a regular HDD. Laptops rarely have a second HDD bay though. Fortunately, with a optical-bay caddy, you can add a second drive to your computer easily. With flash drives, online streaming video, and downloadable software installs becoming more popular, many users find themselves using the CD/DVD drive less and less, so replacing it with an SSD can be a good investment. Furthermore, in the rare cases that you do need access to optical media, you can always plug in your old DVD drive externally with a special cable.
This first post in the series will give you a sense for how this technology works, and how to figure out what hardware you need to do this. Kingston and NewmodeUS have donated hardware for me to test this out myself, so the next post in this series will chronicle my experience with performing this upgrade.

What do I need?
Laptop optical drives are not as standardized as hard drives, making it at times difficult to figure out what kind of replacement you need. The first thing you should check however is that the optical drive is removable. To do this, check your laptop’s service manual for instructions on how to remove/replace the optical drive. If you can’t find this information, do a google search; it’s possible somebody’s done it before. If nothing turns up, you can always ask a question on Super User about it.
Use the following characteristics to figure out what type of optical drive you have.
Size
There are two heights for optical bay drives – 9.5mm and 12mm. Your laptop’s specifications, often found in a service guide or manual, should list the size of your optical bay. Smaller laptops almost always have a 9.5mm drive, but larger laptops can have either. When in doubt, you can always remove the drive and measure it yourself with a ruler.
Drive interface
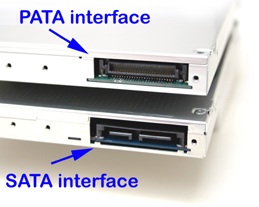
Optical bay caddies will have a SATA connector on the hard drive end, so any modern hard drive or SSD will work in them (though SSDs have their own problems with caddies, so it’s often better to put them in the main hard drive slot – more on that later). The end of the caddy connecting to the inside of the optical bay has two types though: SATA, and PATA (IDE). SATA is the newer standard, and has been around for many years, so most laptops will probably have a SATA connector. If your are in doubt, check your hard drive’s specifications, or take a look yourself.
Loading mechanism
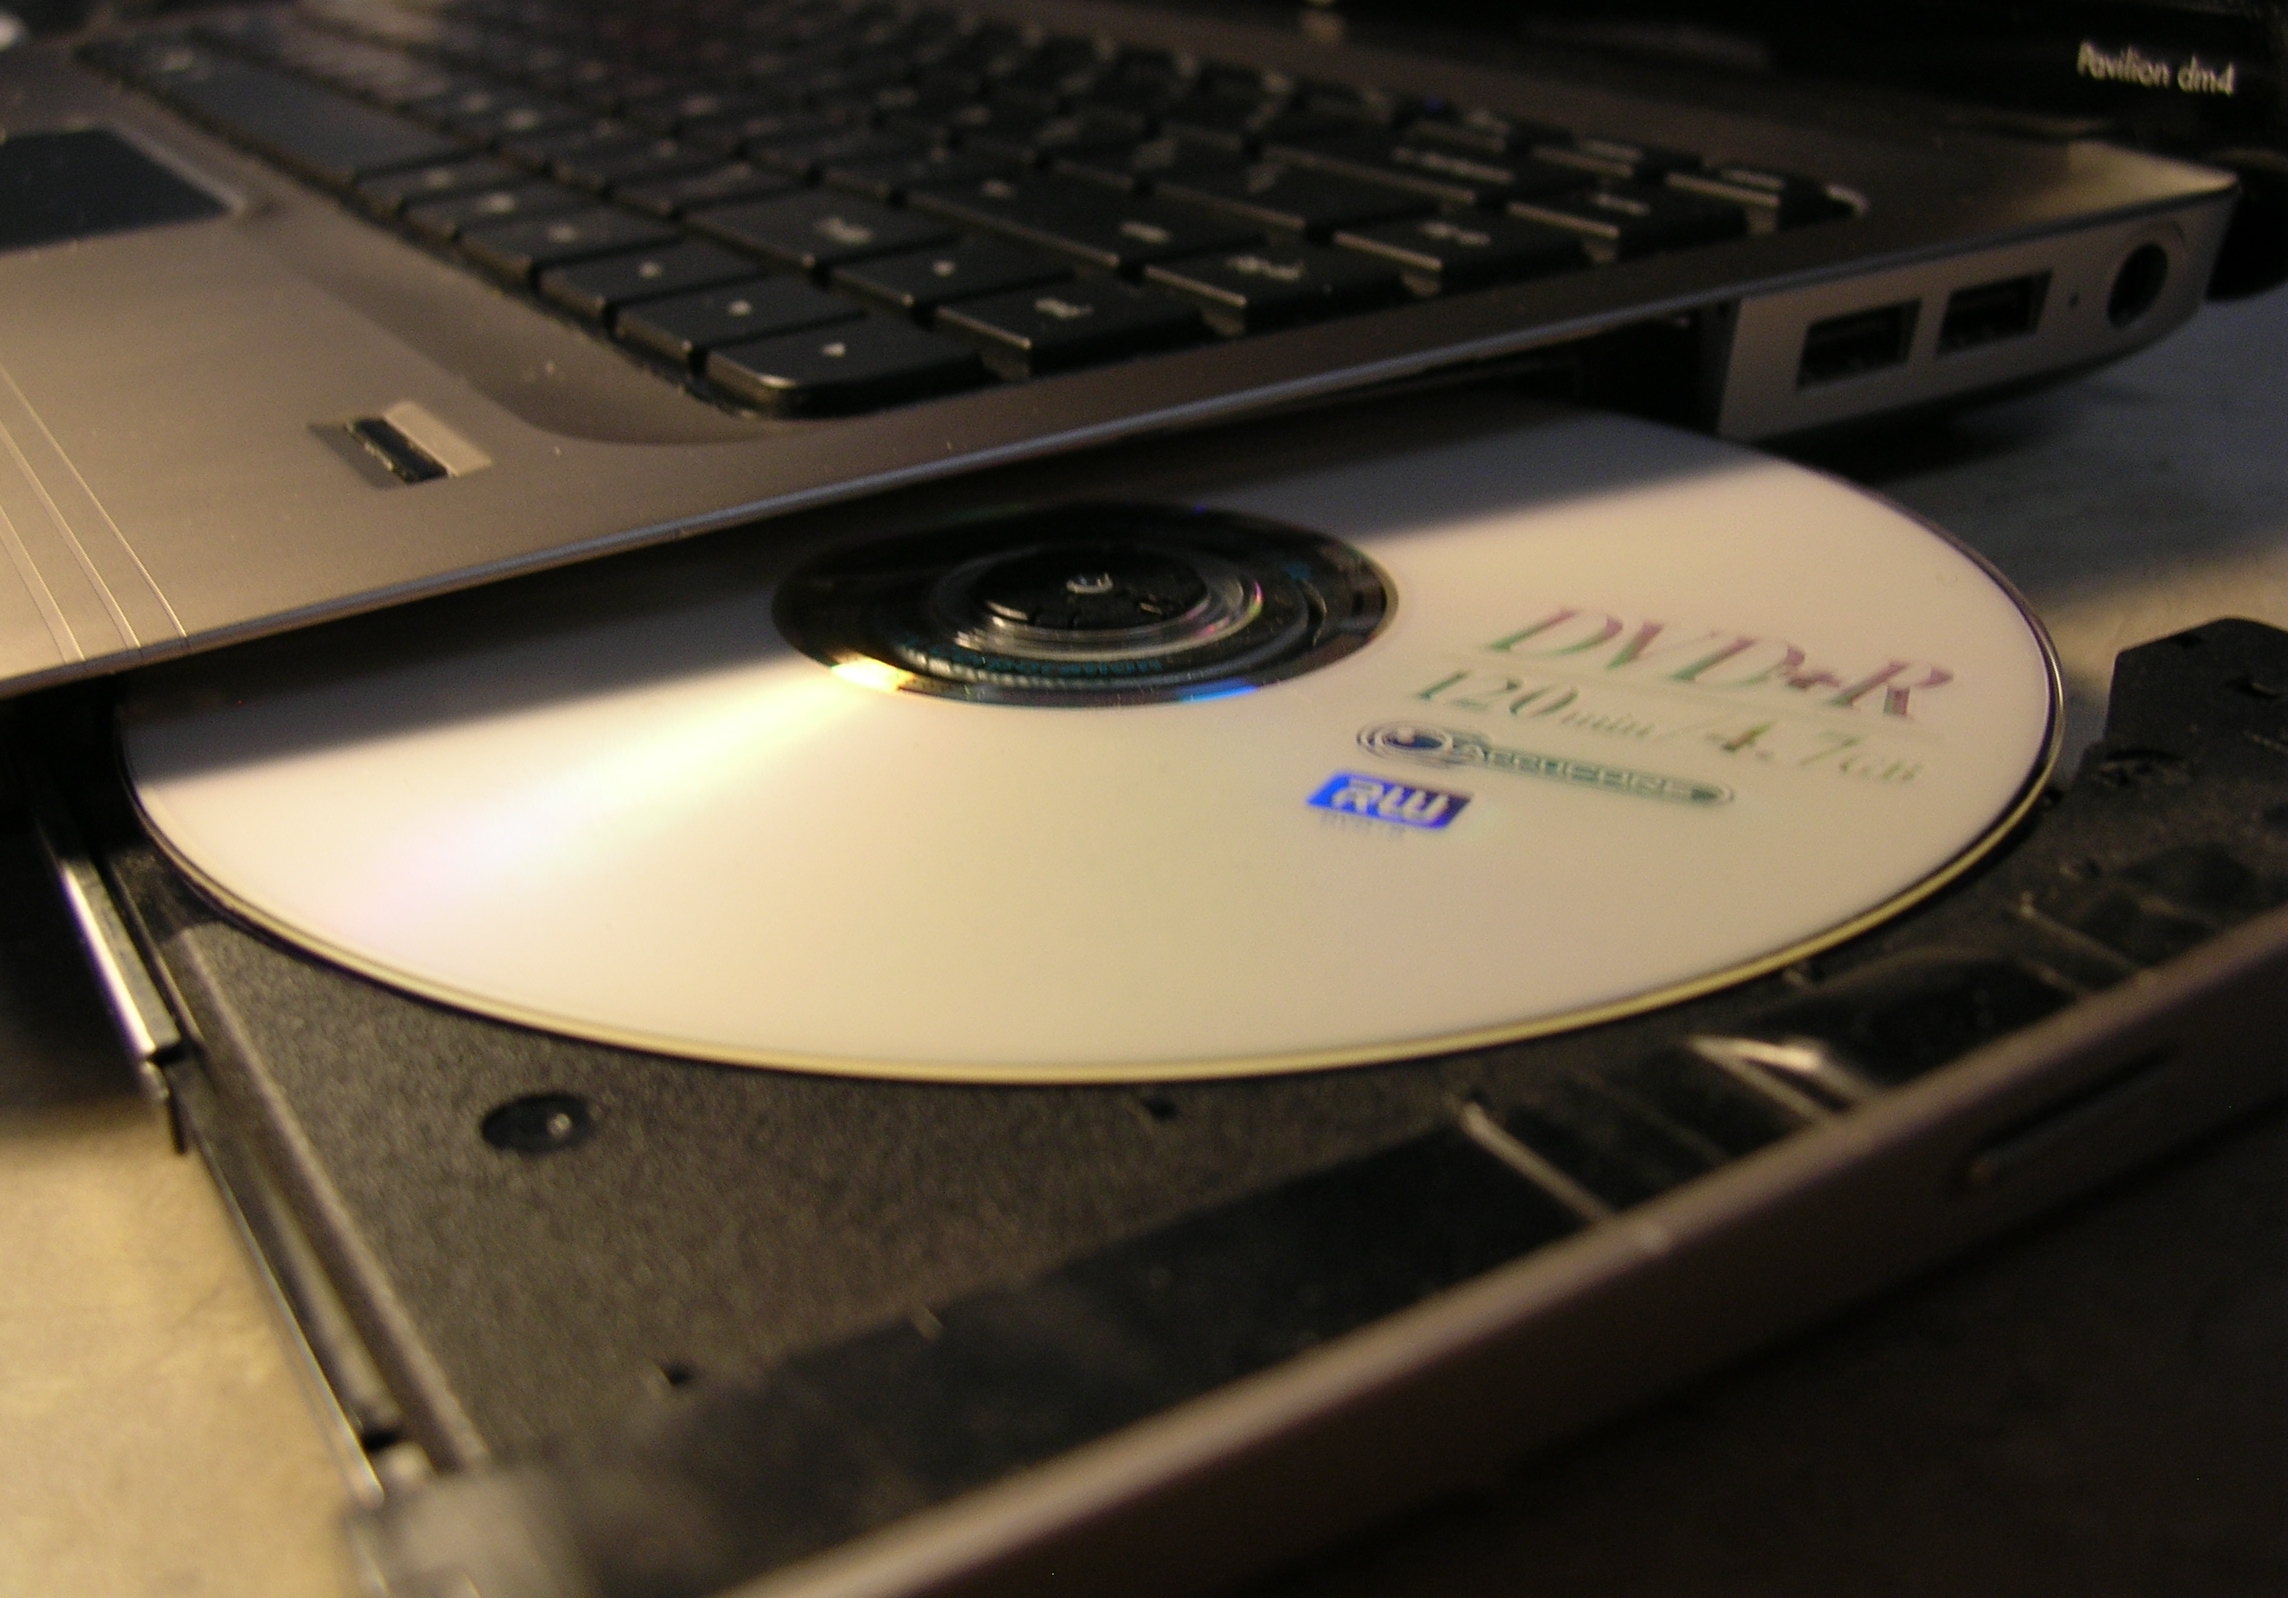
There are also two ways that an optical bay drive can be installed in the system: with a tray-loader or a slot-loader. Tray loaders are like traditional DVD drives. A tray pops out, you stick the DVD on the tray, and then push back in the whole thing. These are still the most prevalent drive types.

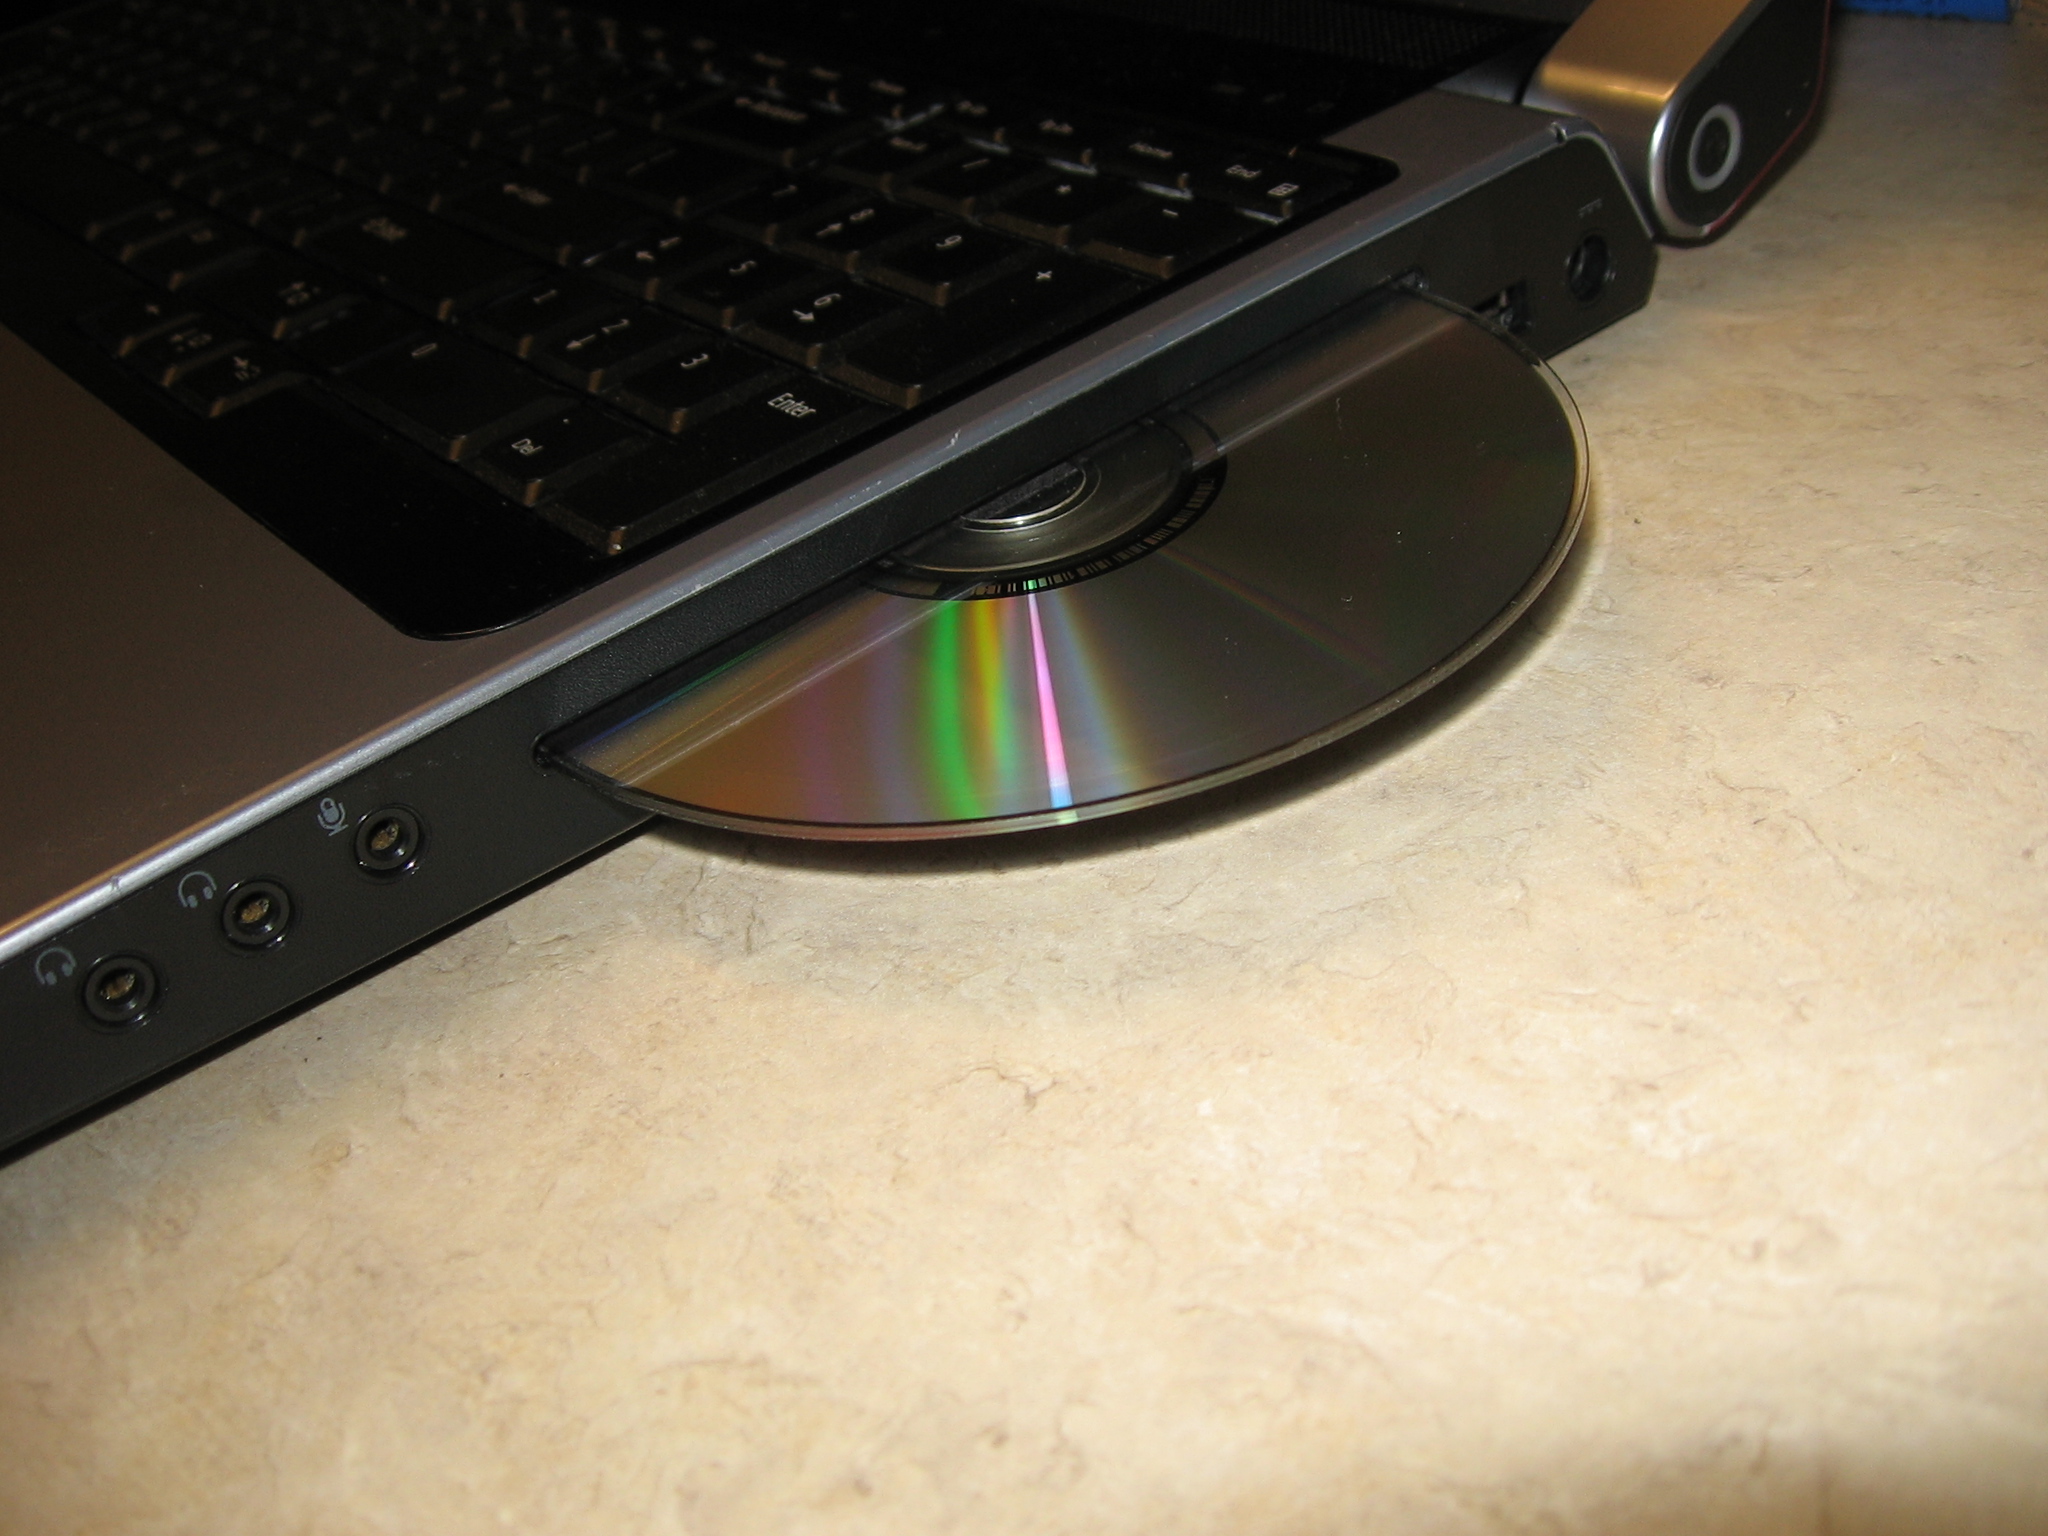
Slot loading drives, first introduced on Macbooks but now gaining popularity with PC makers, have a slit in the side of the computer. You just slide the DVD in, and when you’re done, the OS will eject it and it slides back out.

Selecting a drive
Once you’ve figured out all of the above parts, it’s time to choose a caddy. There are several brands which sell these caddies, including various vendors on eBay and Amazon. You can also buy directly from a manufacturer – NewmodeUS is the leading manufacturer of these drives. Newmode’s drives tend to be slightly more expensive, but it is usually easier to find the exact drive you need, and they sell some of them with customized faceplates for specific models of computers. Unfortunately, they don’t have a customized one for my laptop (a Pavillion dm4t), so I had to go with a generic one. Regardless of the source, make extra certain that the drive has the right connector – SATA or PATA – and is the right height – 9.5mm or 12mm. If your drive is slot-loading, make certain that your caddy doesn’t have a bezel which sticks out from the front, otherwise, it won’t fit in your laptop.
Once you’ve selected the right job, you’re ready to do the upgrade. Stay tuned for part two, where I will go into detail with installing the hardware, transferring over the OS files, and optimizing the SSD’s performance!
Update: Part II is online!
Filed under Solid State Drives


This almost makes me want to replace my optical drive in my laptop, so I can have 2 SSD’s!
Not mentioning recent Jeff’s post (2 days old) is just a sin here. 🙂
The Hot/Crazy Solid State Drive Scale http://www.codinghorror.com/blog/2011/05/the-hot-crazy-solid-state-drive-scale.html
Sorry for another comment, but forgot to tell something in previous one.
As a ThinkPad user (not atm honestly, because of failed NVS140m, which can be recovered only for a limited time [like one month] via baking: http://www.youtube.com/watch?v=h3JtokNj_Ho [not my vid]) I have to say that I love UltraBay.
I have standard CD/DVD burner (now covered by dust), long time ago replaced by UltraBay IDE adapter and later SATA adapter. I remember one event from a few years ago when at uni friend asked me to burn something. I didn’t have my burner back then in UltraBay, but schoolmate sitting next to me had TP too w/ his burner in place. He took it off and lent it, so I could fulfill my friend’s request immediately. This seamless operation (w/o turning off any computer) is simple proof of UB awesomeness.
Wow you actually used a cd/dvd burner instead of a flash drive? ;P
Can you replace a 12mm drive with a 9.5mm? There might be a gap, but could you pad it somehow? I’m seeing more 9.5mm on sale now than 12mm and I need to place my dead 12mm.
Thanks.
Hello
I just got a caddy and I tried with new SSD int optical bay, but it seems to jam a lot my laptop and it’s never visible, it’s like very slow or something…
Should I just switch HDD and SSD and never question why SSD is not working on the caddy?
Thanks
Hi there,
Generally speaking, it’s almost always better to put the SSD in the primary slot (where the HDD originally was). There are a variety of reasons why the caddies tend not to work quite as well with SSDs.
@nhinkle: I’m planning to buy a laptop from xoticpc and one of the customization options is to replace the disk drive with a hard drive. Since I already have an ssd on the ssd drive (for the OS) and an hd on the hd drive (for media files) I just want another hd for storage (which I won’t always access). What are the effects of adding another hard drive on the optical bay? Will my laptop run hotter? Will my battery life shorten? Will the hd be more susceptible to corruption? Hope you can help me out. Thanks 🙂
I have dell alienware 17 plss guide me about its optical drive